A virtual cast reunion can bring together characters from different years, locations, or even fictional timelines. With multiple face swaps, you can place several familiar faces into one short video without asking everyone to meet on the same set. The result works well for fan projects, anniversary messages, family entertainment, and private creative experiments.
The strongest videos don’t rely on the face swap alone. They use a clear story, matching camera angles, believable lighting, and performances that give each character a reason to be there. Start by deciding what the reunion is about, then build the visuals around that idea.
For a simple production, EasyFaceSwap can help you test different faces and see how a cast might look in the same scene. It’s useful during planning because you can compare source images, spot awkward angles, and decide which shots are worth developing before you edit the final video.
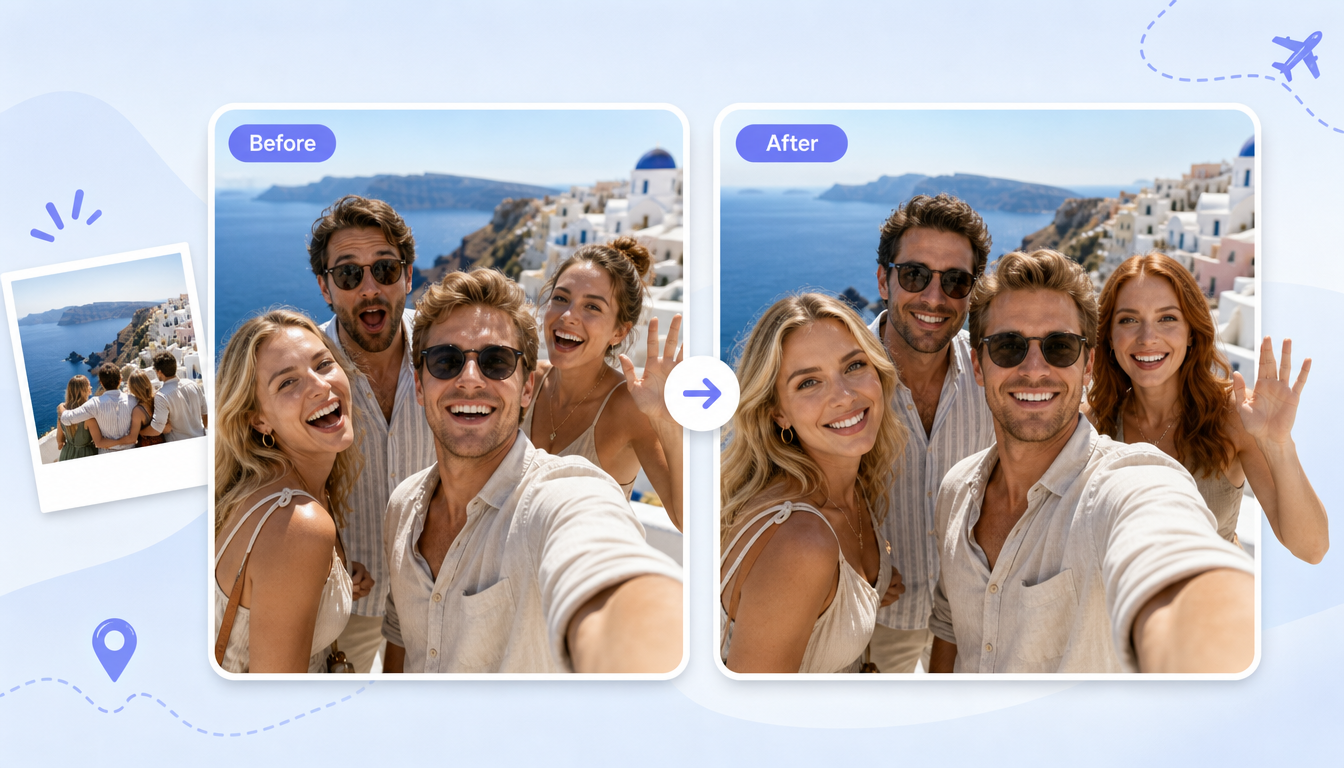
A short group introduction is often easier to make than one long conversation. You can create separate clips for each cast member, then combine them with reaction shots, title cards, or a shared background. If you want several people to appear in the same moving scene, a multiple face swap video workflow can help you work through each face while keeping the sequence organized.
Three reunion scenarios that work well
The first scenario is a cast anniversary message. Imagine a fictional show reaching its tenth anniversary, with each character recording a brief message about what they remember. One person can thank the audience, another can complain about the old costumes, and a third can pretend to have forgotten the entire production. This format gives every swapped face a clear moment, so you don’t need to force all the characters into one complicated shot.
The benefit is control. You can film or generate each message separately and give every clip its own framing, voice, and background. If one face swap looks less natural than the others, you can shorten that section without damaging the entire video. A collection of quick messages also feels more like a real reunion montage than a staged group call.
A second scenario is a roundtable conversation. Here, several characters discuss a shared event, such as the best episode, a disastrous filming day, or what happened after the story ended. You might show one character in a medium shot, cut to another for a reply, then return to a wider group image between topics. This approach creates the feeling of a live discussion while allowing you to prepare each angle separately.
The main benefit is visual flexibility. You can use close shots for jokes and reactions, then wider shots to establish the group. It also makes timing easier because you can edit pauses, interruptions, and overlapping dialogue after the face swaps are complete. Keep the conversation short, though. A two minute exchange with constant changes can expose small inconsistencies in expressions, eye direction, and lighting.
A third scenario is a reunion inside a fictional video call. Each character appears in a separate window, perhaps joining from a kitchen, dressing room, spaceship, or old office. This is a practical choice when the cast members need different settings or when a shared background would be difficult to create. The call can begin with polite greetings and slowly become funny as old rivalries return.
This format benefits from built in separation. Since every face sits in its own frame, minor differences in scale are less noticeable. You can also use interface elements, names, muted microphones, and connection pauses as part of the story. Those details help the viewer accept that the characters are participating remotely rather than standing in one perfectly matched room.
| Scene type | Best use | Main production advantage |
|---|---|---|
| Anniversary messages | Short tributes and fan celebrations | Each character can be edited separately |
| Roundtable discussion | Jokes, debates, and shared memories | Cutting between angles hides small flaws |
| Fictional video call | Different locations and casual dialogue | Separate frames reduce matching problems |
A practical workflow for building the reunion
Begin with a one page outline. Decide who appears, what each character wants to say, and how the reunion ends. A useful structure is an opening greeting, three or four individual moments, one shared joke, and a closing line from the group. Give every character a distinct purpose so the video doesn’t become a string of similar introductions.
Next, prepare the source material carefully. Choose clear images or clips with a visible face, steady lighting, and an angle close to the target performance. Front facing footage usually gives cleaner results, but a slight turn can work if the source face and target face share a similar position. Avoid mixing a brightly lit portrait with a dark, side lit performance unless the contrast is part of the design.
Record the base performances before making the swaps. Ask each performer to leave enough space around the face and keep their head movements moderate. Large turns, hands covering the face, fast camera motion, and hair crossing the eyes all make the result harder to clean up. For a group scene, have the performer look toward the correct side of the frame so each reaction feels connected to the person speaking.
Then create a rough version with temporary clips. This is where you test pacing, dialogue, and screen direction before spending time on detailed edits. If the character in the left frame is supposed to answer someone on the right, keep that visual relationship consistent. Cutting between mismatched directions can make the conversation feel oddly disconnected even when the swaps look convincing.
Work through the faces one at a time and name your files clearly. Labels such as “Alex close reaction” or “Jordan opening line” are more useful than automatic file names. Keep the original clips separate from processed versions, and save a clean project copy before you begin color or audio work. Small organizational habits matter when a scene contains many similar shots.
After the swaps are ready, match the surrounding image. Adjust brightness, color temperature, sharpness, and skin tone so one face doesn’t appear pasted into a different camera feed. Add a little consistent grain or softening if the clips come from different sources. Don’t blur every face heavily to hide flaws, because excessive smoothing often makes the result look less natural.
Audio deserves the same attention as the visuals. Record dialogue in a quiet space, remove obvious background noise, and keep volume levels consistent across speakers. A small amount of room tone under every clip can make separate recordings feel as if they belong to the same production. Add music carefully, leaving room for jokes and reactions to remain clear.
What makes the result believable
Continuity carries more weight than technical perfection. If a character holds a mug in one shot, the mug should not vanish in the next reaction unless the cut is intentional. Watch the direction of shadows, the height of the camera, and the apparent distance between people. Viewers may not identify the exact problem, but they notice when the scene doesn’t follow its own visual rules.
Keep expressions restrained during the most important lines. Face swaps generally have an easier time with calm speech, small smiles, and modest head movements than with shouting or exaggerated comedy. You can still make the reunion lively through editing, sound effects, and reaction timing. A raised eyebrow followed by a quick cut can be funnier than a large gesture that produces a distracting visual error.
Consent and disclosure should be part of the project from the beginning. Get permission from anyone whose face or performance you use, especially if the video will be posted publicly or connected to a real person. If the reunion is fictional or fan made, label it clearly so viewers understand that it is edited media and not an authentic recording. Don’t use a face swap to suggest that a real person said or did something harmful, illegal, or deliberately misleading.
Common problems and the final polish
One common mistake is trying to show the entire cast in a single moving shot. That demands consistent face size, lighting, depth, timing, and eye direction across every person. A sequence of individual shots often looks more convincing and gives you better control. Use a group image or wide shot only for brief moments when the audience needs to see everyone together.
Another problem is choosing source faces based only on identity. The best source image also needs suitable lighting, expression, resolution, and angle. Test several options before settling on one. A less famous image with a relaxed expression can work better than a dramatic close-up with harsh shadows.
Rushing the ending can weaken an otherwise polished reunion. Give the final exchange enough space, then close with a shared visual cue such as a toast, wave, title card, or familiar line. Review the complete video on both a large screen and a phone, since small face details may disappear on one display while distracting viewers on another.
A virtual cast reunion succeeds when the technology supports a simple human idea: people who once shared a story are meeting again. Plan the conversation first, build each performance around its role, and use multiple face swaps as part of the editing process rather than as the entire attraction. With careful continuity, clear disclosure, and restrained effects, you can create a reunion that feels intentional, entertaining, and easy to follow.