The handmade textile market is experiencing unprecedented growth, with consumers increasingly seeking unique, artisan-crafted pieces that mass production simply cannot replicate. For small business owners and creative entrepreneurs, this surge represents a golden opportunity to carve out a profitable niche. At the heart of this textile revolution lies an accessible yet powerful tool: the small tufting gun. This compact device has democratized the art of rug-making and textile creation, transforming what was once an industrial process into a cottage industry accessible from your own studio. When paired with the right fabric combinations, a small tufting gun becomes a gateway to countless creative and commercial possibilities—from custom wall art and home decor to fashion accessories and specialty items. This article will guide you through the complete journey of tufting entrepreneurship, starting with essential supplies and techniques, then advancing to professional finishing methods, and finally exploring the diverse range of sellable products you can confidently bring to market.
Unlocking Creativity: Your Essential Tufting Supplies Toolkit
A small tufting gun is a handheld electric tool that punches yarn through backing fabric to create looped or cut pile textures. Unlike industrial machines, these compact devices offer entrepreneurs significant advantages: minimal upfront investment, operation in small studio spaces, and precise control for intricate designs. The foundation of any tufting project lies in your fabric combo—primarily, you’ll work with monk’s cloth, a durable grid-weave cotton ideal for holding tufts securely, or burlap for rustic projects. Secondary fabrics like felt, canvas, or non-slip rubber serve as backing materials that give finished pieces a professional appearance. Beyond the gun and fabric, your toolkit requires a sturdy wooden or PVC frame to stretch and tension your primary backing, various yarn weights in your chosen palette, sharp fabric scissors for trimming pile, and textile adhesive to lock tufts permanently in place. For certain products like coasters or mats, a heat press becomes invaluable, bonding backing fabrics with even pressure and temperature to create water-resistant, commercial-quality finishes. Together, these tufting supplies form a complete system that transforms raw materials into textured creations ready for customers.
Step-by-Step: Mastering Your Small Tufting Gun for High-Quality Goods
Phase 1: Preparation and Design Transfer
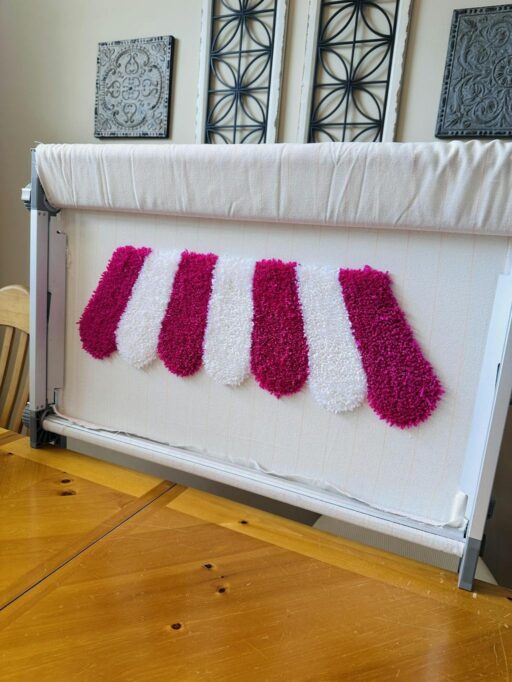
Begin by stretching your monk’s cloth tightly across your frame, ensuring the weave remains square and taut without sagging—loose fabric produces uneven tufts that compromise professional quality. Secure the edges with staples or grip strips, pulling from opposite sides to maintain consistent tension. Select designs that translate well to tufted texture: bold logos, simple florals, or geometric patterns work best for commercial products. Transfer your design to the fabric using a washable fabric marker or projector, drawing directly on the back side where you’ll tuft. Thread your small tufting gun by feeding yarn through the needle and tension guides according to your model’s specifications, testing on scrap fabric to confirm smooth flow before starting your actual project.
Phase 2: The Tufting Process and Technique
Hold the tufting gun perpendicular to your stretched fabric, pressing the needle fully through with each punch while maintaining steady forward motion at a moderate walking pace—too fast creates gaps, too slow causes yarn buildup. Work in consistent rows or follow your design outlines, keeping punches close together for dense, professional coverage. Fill large areas systematically by working from edges inward, which prevents distortion of your design boundaries. When changing yarn colors, clip the old yarn close to the fabric back and thread the new color, overlapping slightly at transition points for seamless blending. If yarn breaks during tufting, back up two inches and resume punching to ensure continuous coverage. For uneven loops, adjust your gun’s pile height setting or maintain more consistent pressure and speed as you work across the surface.
Phase 3: Finishing for a Professional Look
Once tufting is complete, flip your piece and generously apply textile adhesive across the entire back surface, working it between yarn tufts to lock them permanently—this prevents shedding during customer use. Allow the adhesive to dry according to manufacturer instructions, typically overnight. Remove the piece from your frame and trim excess backing fabric, leaving a one-inch border. Use sharp scissors or clippers to sculpt the pile, carving different heights to add dimension and refining edges for crisp definition. For items like coasters, trivets, or mats, cut backing fabric slightly larger than your tufted piece, then use a heat press at appropriate temperature settings to bond the backing permanently, creating a waterproof, non-slip finish that elevates your product to retail quality.
From Studio to Store: Profitable Projects You Can Create
Home Decor & Accents
Wall hangings represent one of the most lucrative tufting products, with customers willing to pay premium prices for custom textured art that transforms blank spaces into focal points. Use monk’s cloth as your base for its exceptional tuft retention, creating abstract landscapes, botanical designs, or personalized name signs that range from small 12-inch pieces to statement works spanning several feet. Decorative throw pillows offer another high-margin opportunity—tuft the front panel with dense, even coverage, then sew it to fabric backing with zipper closures for washability. Coasters and trivets fill the affordable luxury niche perfectly; create sets of four to six with coordinating patterns, then use your heat press to bond waterproof felt or cork backing at 300°F for thirty seconds, producing heat-resistant, moisture-proof items that customers use daily and gift frequently.
Fashion and Wearable Art
Custom patches have exploded in popularity as consumers personalize everything from denim jackets to canvas totes. Tuft small designs measuring two to four inches—initials, symbols, or miniature florals—then trim backing close and apply iron-on adhesive backing for customer-friendly application. Statement bag panels elevate this concept further; create textured front pieces for crossbody bags or tote exteriors, partnering with local leather workers or sewists to offer complete collaborative products that command higher price points. Embellished hats and headbands tap into festival and boutique markets—tuft narrow bands or small appliqués featuring geometric patterns or floral motifs, then hand-stitch them onto headband bases or cap brims, creating wearable art pieces that photograph beautifully for social media marketing and generate organic customer interest through visual appeal.
Specialty and Niche Market Items
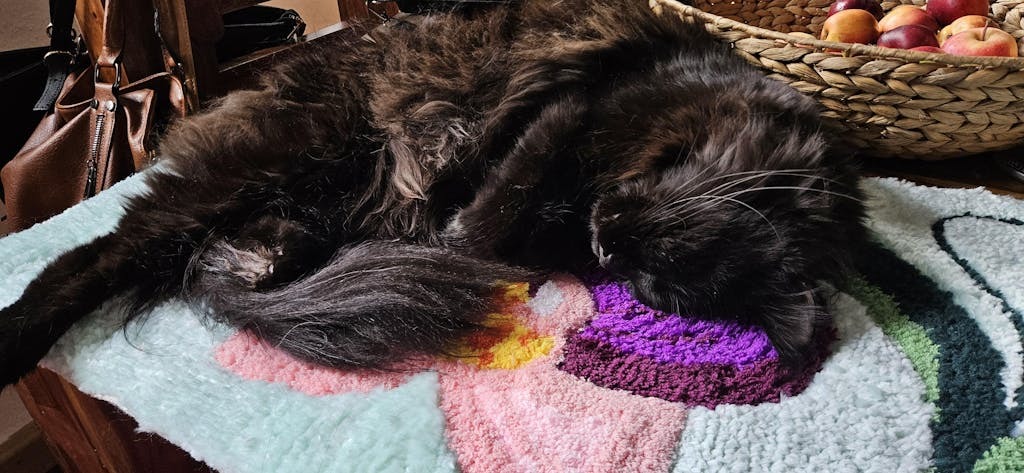
Pet products represent an underserved market where devoted owners eagerly invest in quality items. Tuft custom pet mats with names or paw prints using durable, washable yarn, then heat press non-slip rubber backing to prevent sliding during mealtime—these practical yet personalized pieces justify premium pricing. Children’s play mats and alphabet rugs appeal to parents seeking educational, heirloom-quality items; create colorful letter sets or themed play surfaces using non-toxic yarns and secure backing, positioning these as developmental tools rather than mere decorations. High-end textured artwork serves corporate clients and interior designers seeking original statement pieces—develop signature techniques like gradient shading or dimensional carving that distinguish your work, then market directly to design firms and commercial spaces where budgets support investment in unique, conversation-starting installations that reflect brand identity.
Optimizing Your Workflow with Essential Accessories and Tools
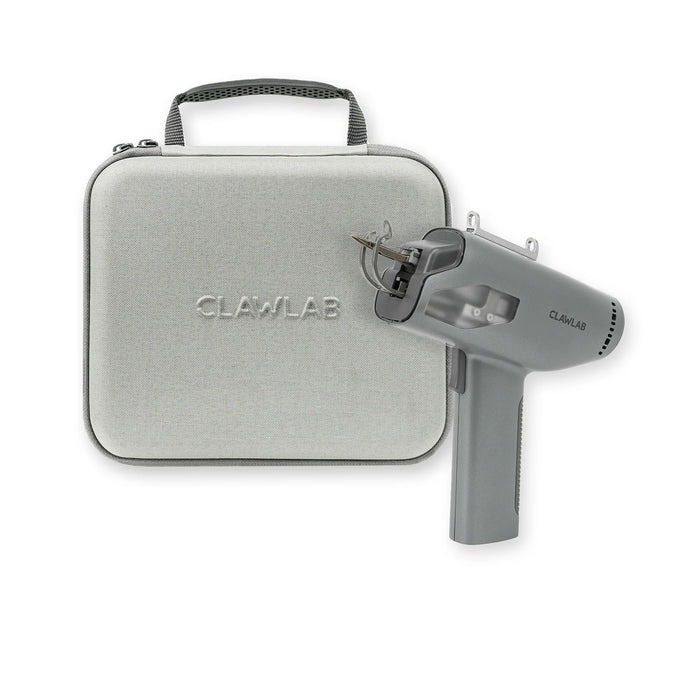
Efficiency separates hobbyists from profitable tufting businesses, and the right accessories transform your production speed without sacrificing quality. Specialized needle sizes expand your creative range—fine needles for detailed lettering and intricate patterns, medium gauges for standard designs, and heavy-duty options for thick yarn projects. Many tufting gun manufacturers, including Clawlab, offer ergonomic grip attachments that reduce hand fatigue during extended tufting sessions, allowing you to complete multiple pieces in a single day without strain that limits productivity. A professional-grade heat press proves essential for businesses focused on functional items like coasters, placemats, or pet accessories; invest in models with adjustable temperature controls and even pressure distribution to achieve consistent, waterproof bonds that withstand customer use and washing. Organize your tufting supplies strategically by creating dedicated stations: a framing area with pre-cut backing fabric, a tufting zone with yarn sorted by color family and weight, and a finishing station equipped with adhesive, scissors, and backing materials within arm’s reach. Mount your frame at a comfortable working height that prevents back strain, ideally allowing you to stand or sit on a stool while maintaining perpendicular gun angles. Store completed pieces flat during adhesive curing to prevent distortion, and maintain inventory of your fastest-selling color combinations to minimize downtime between orders. These workflow optimizations compound over time, dramatically increasing your output capacity and profit margins.
Your Path to Tufting Success
The small tufting gun paired with the right fabric combo has genuinely democratized textile entrepreneurship, placing professional-quality creation within reach of anyone willing to master the fundamentals. Throughout this guide, you’ve discovered how a modest investment in essential tufting supplies—from monk’s cloth and frames to adhesive and a heat press—creates the foundation for a viable business. You’ve learned the critical techniques that separate amateur attempts from market-ready products: proper fabric tensioning, consistent gun handling, and professional finishing methods that customers expect. Most importantly, you’ve seen the remarkable range of profitable products waiting to be created, from home decor that commands premium pricing to wearable art and specialty items serving underserved niches. The path forward is clear: start with simple projects to build confidence and technique, gradually expanding your complexity and product range as skills develop. Embrace the inevitable learning curve—each imperfect piece teaches valuable lessons that refine your craft. The handmade textile market continues growing, hungry for authentic, textured goods that only human hands and creative vision can produce. Your small tufting gun is ready; your fabric combo awaits. Transform these tools and techniques into a thriving business that turns yarn and backing into income, one tuft at a time.