There’s nothing quite as disappointing as watching perfectly pulled espresso shots get ruined by poorly frothed milk. That flat, lifeless foam or those large, soapy bubbles can transform what should be a velvety cappuccino into a mediocre drink that barely resembles what you’d get at your favorite café. The difference between amateur and professional-quality milk foam often comes down to technique rather than equipment.
Mastering milk frothing is essential for creating café-quality beverages at home. Whether you’re crafting a silky latte, a traditional cappuccino, or a luxurious flat white, the texture and temperature of your frothed milk can make or break the entire experience. Unfortunately, many home baristas unknowingly sabotage their results through simple yet critical mistakes. From selecting the wrong milk temperature to positioning the steam wand incorrectly, these errors prevent you from achieving that coveted microfoam texture. This guide will walk you through the most common pitfalls when using a steam milk frother and provide practical solutions to help you create barista-level drinks in your own kitchen.
Common Mistakes When Using a Steam Milk Frother
The type of milk you choose dramatically affects frothing results. Whole milk produces the richest, most stable foam due to its fat content, while skim milk creates more volume but less creamy texture. Non-dairy alternatives behave unpredictably—barista-blend oat and soy milks froth reasonably well, but standard almond milk often separates or produces thin, watery foam. Always check labels for “barista edition” versions formulated specifically for steaming.
Temperature mistakes sabotage even the best technique. Starting with cold milk straight from the refrigerator is essential, as warm milk won’t incorporate air properly and quickly overheats. The ideal final temperature sits between 140-155°F; exceeding 160°F scalds the milk, destroying its natural sweetness and creating a burnt taste. Many beginners either underheat their milk, resulting in weak foam, or overheat it while chasing more volume.
Pitcher fill level matters more than most realize. Filling beyond the spout’s base leaves insufficient room for milk expansion during aeration, causing overflow and limiting foam development. Conversely, too little milk makes controlling the steaming process difficult and wastes energy. The sweet spot sits around one-third full for a standard pitcher, allowing milk to triple in volume while maintaining control.
Steam wand positioning separates amateurs from skilled baristas. Placing the wand too deep eliminates the stretching phase needed for microfoam, while keeping it too shallow creates large, unstable bubbles. The tip should sit just below the surface during aeration, producing a gentle paper-tearing sound. Angling the pitcher correctly creates a whirlpool effect that integrates air bubbles into silky microfoam rather than leaving them as separate layers.
How to Properly Use Your Espresso Machine’s Frother
Begin with cold milk poured into a clean, chilled pitcher filled to just below the spout’s base. Wipe the steam wand with a damp cloth before use to remove any residue from previous sessions. Position the wand’s tip just beneath the milk surface at a slight angle, creating an off-center placement that encourages circular motion. This preparation sets the foundation for successful frothing regardless of your machine type.
Activate the steam at full power immediately—hesitant, gradual increases produce inconsistent results. During the first few seconds, keep the wand tip near the surface to introduce air, listening for a soft tearing sound rather than loud screeching or silence. This stretching phase should last only 5-8 seconds for lattes or 10-15 seconds for cappuccinos. Once you’ve incorporated enough air, submerge the wand deeper to create a rolling whirlpool that breaks down large bubbles into velvety microfoam. The milk should spin smoothly without splashing.
For automatic espresso makers with programmable frothing, adjust temperature settings based on milk type. Dairy milk performs best at 145-150°F, while oat milk requires slightly lower temperatures around 140°F to prevent separation. Many touchscreen models offer texture presets—select “wet” or “microfoam” for lattes and flat whites, “dry” for cappuccinos and macchiatos. These settings control both steaming duration and air incorporation rates.
Immediately after frothing, purge the steam wand by briefly activating it over a drip tray, then wipe thoroughly with a damp cloth. This prevents milk from drying inside the wand tip, which causes blockages and bacterial growth. For machines with removable frothing attachments, disassemble and rinse components under warm water daily. Weekly deep cleaning with specialized milk system cleaner maintains optimal performance and prevents flavor contamination between uses.
Advanced Tips for Coffee Machine Enthusiasts
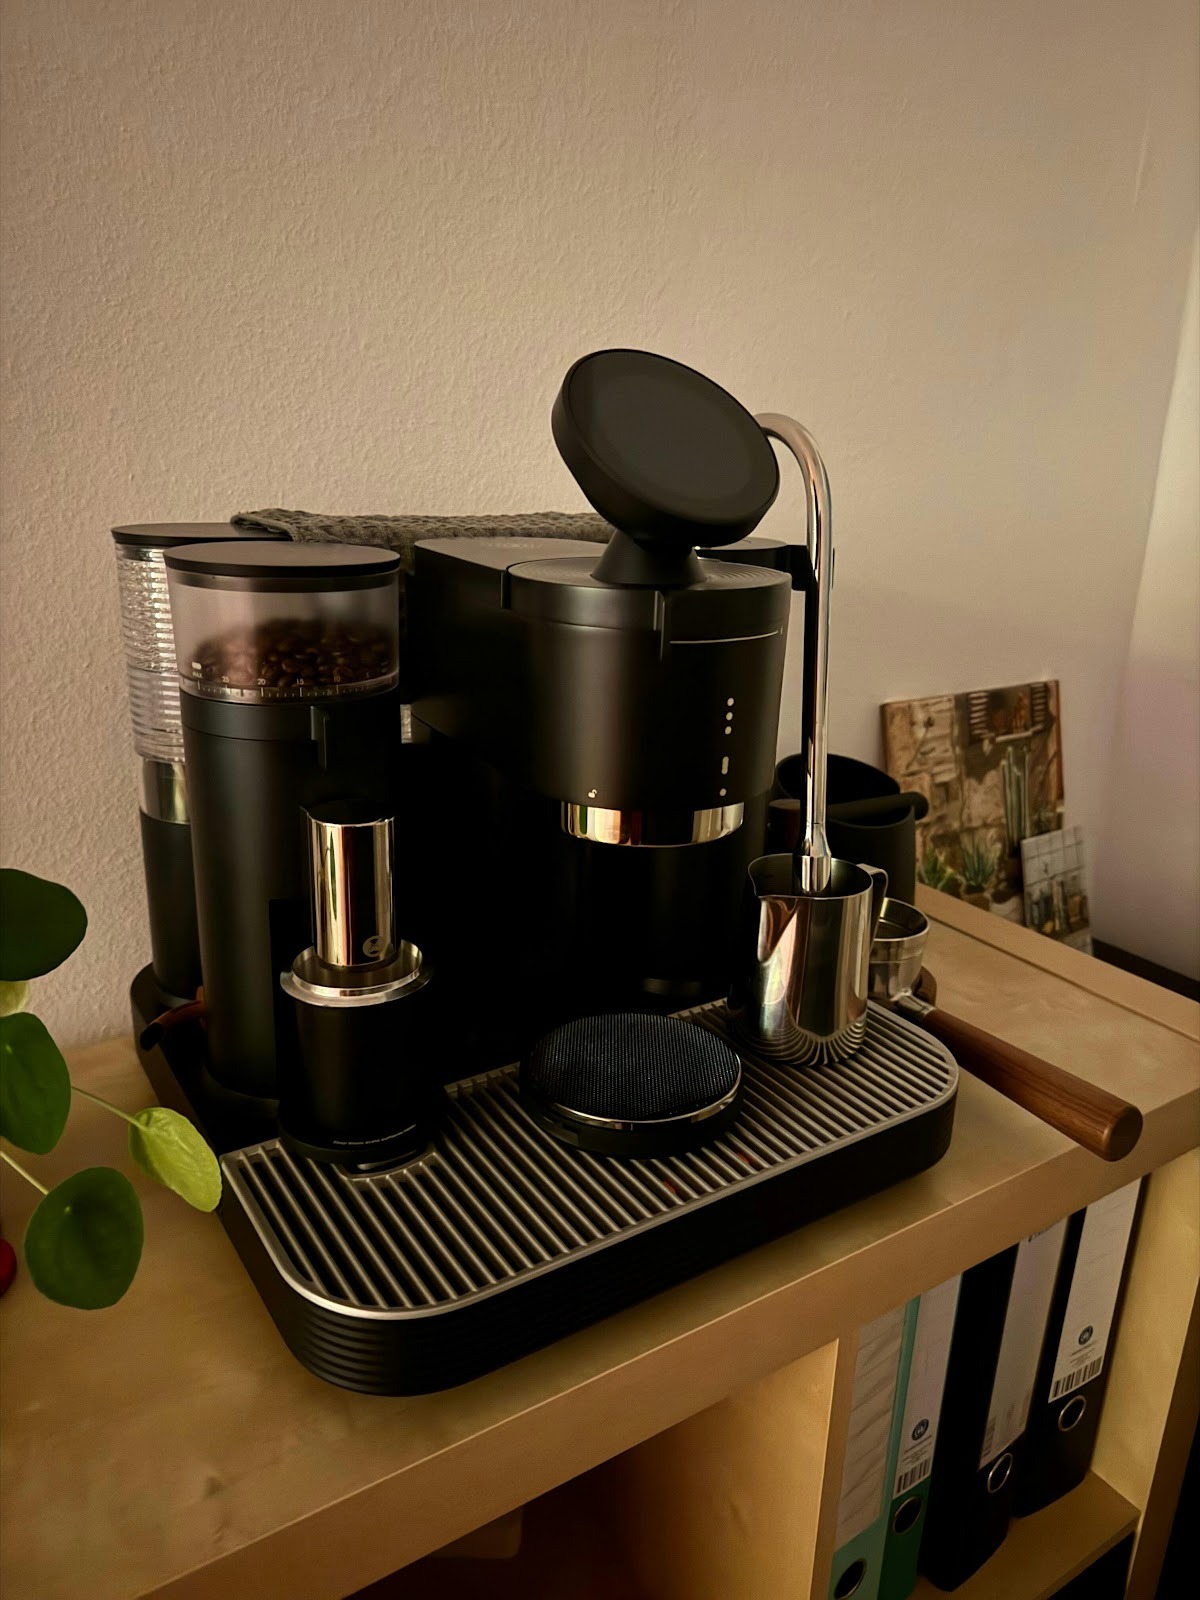
Modern touchscreen espresso machines offer programmable frothing profiles that remember your preferences. Save custom settings for different beverages—a 140°F microfoam profile for flat whites, a 150°F airier texture for cappuccinos. Some advanced models from manufacturers like Meraki Tech Global allow you to adjust steam pressure incrementally, giving precise control over foam density. Experiment with these digital controls to find your ideal combination, then lock it in for consistent results every morning.
Latte art requires microfoam with a glossy, paint-like consistency free from visible bubbles. After frothing, tap the pitcher firmly on the counter several times to collapse any remaining large bubbles, then swirl vigorously to integrate the foam completely. The milk should move as one unified liquid without separation between foam and milk layers. When pouring, start from a height of about three inches to penetrate the crema, then lower the pitcher close to the cup surface while increasing flow rate. This height transition creates the contrast needed for hearts, rosettas, and tulips.
When foam appears too stiff and separates quickly, you’ve over-aerated during the stretching phase—reduce that initial surface-level steaming time by two to three seconds. Watery foam with large bubbles indicates insufficient whirlpool action; adjust your wand angle to create stronger circular motion that breaks down air pockets. If milk scalds before reaching proper texture, your starting temperature may be too warm, or you’re steaming too slowly. Address temperature issues by using colder milk and committing to faster, more decisive technique.
Coordinate your frothing with espresso extraction timing for optimal results. Begin steaming milk as soon as you start the espresso shot, allowing both processes to finish simultaneously. This prevents shots from sitting too long and developing bitter flavors while also ensuring frothed milk doesn’t settle before pouring. On machines with dual boiler systems, you can even froth while pulling shots, maximizing efficiency during busy mornings when making multiple drinks.
Choosing the Right Equipment for Your Needs
When selecting an espresso machine with grinder and milk frother, prioritize steam wand power and control mechanisms. Machines with dedicated steam boilers maintain consistent pressure throughout the frothing process, unlike single-boiler models that require temperature switching between brewing and steaming. Look for adjustable steam pressure controls—either manual knobs or digital settings—that let you dial in the perfect power level for different milk types. A 360-degree swivel steam wand provides better pitcher positioning flexibility than fixed models, making it easier to achieve proper angles for microfoam creation.
Automatic frothing systems offer convenience but vary significantly in quality. Premium automatic frothers use temperature sensors and programmable cycles to deliver consistent results, while basic versions simply heat and agitate milk without nuanced control. Manual steam wands provide superior texture control once you’ve mastered technique, allowing infinite adjustments during the frothing process. For enthusiasts willing to invest time in skill development, manual systems ultimately deliver better results, though automatic options suit those prioritizing speed and repeatability over customization.
Budget-conscious buyers should consider that excellent frothing doesn’t always require premium pricing. Mid-range machines with quality steam wands often outperform expensive models with weak boilers or poorly designed automatic systems. Allocate your budget toward core functionality—boiler capacity, steam pressure, and wand design—rather than decorative touchscreens or unnecessary presets. A well-built manual frother on a solid machine beats elaborate automatic features on an underpowered base. Test steam power during purchase by checking manufacturer specifications for boiler wattage and steam pressure ratings, as these directly impact frothing performance regardless of price point.
Perfecting Your Home Barista Skills
Avoiding common frothing mistakes transforms your home coffee experience from frustrating to consistently rewarding. Remember that starting with cold milk in a properly filled pitcher, positioning your steam wand just below the surface at the correct angle, and stopping before temperatures exceed 155°F are the fundamental principles that separate amateur attempts from professional results. Whether you’re working with whole dairy milk or barista-blend alternatives, these core techniques remain essential.
Mastering your steam frother takes practice, but the path forward is clear: focus on creating that gentle paper-tearing sound during aeration, develop a strong whirlpool motion for silky microfoam, and maintain your equipment through daily cleaning rituals. Don’t hesitate to experiment with steam pressure settings, frothing durations, and pitcher angles until you discover what works best for your specific machine and preferred beverages. Each attempt teaches you something new about how milk behaves under steam.
The difference between a forgettable home cappuccino and one that rivals your favorite café lies entirely in these details. With the techniques and solutions outlined here, you now have everything needed to elevate your morning ritual into something truly special—one perfectly frothed cup at a time.